Do you need to replace your empty ink cartridges? The process of changing a printer's ink will depend on the type of printer and type of ink cartridge. Each printer may have a little variant, but they all follow the same general steps. So always follow the manufacture's recommendation and guiding principles. Office Printers teaches you how to replace an empty printer cartridge.
1. Make sure you have purchased the right model of ink cartridge. You can find the Ink cartridge's type either on the instruction manual or old cartridge in the printer.
2. Power on the printer which you want to replace the cartridge.
3. Open the printer outer/exterior door and then access the ink cartridge door. In most of the printers the cartridge may be in the centre of the printer.
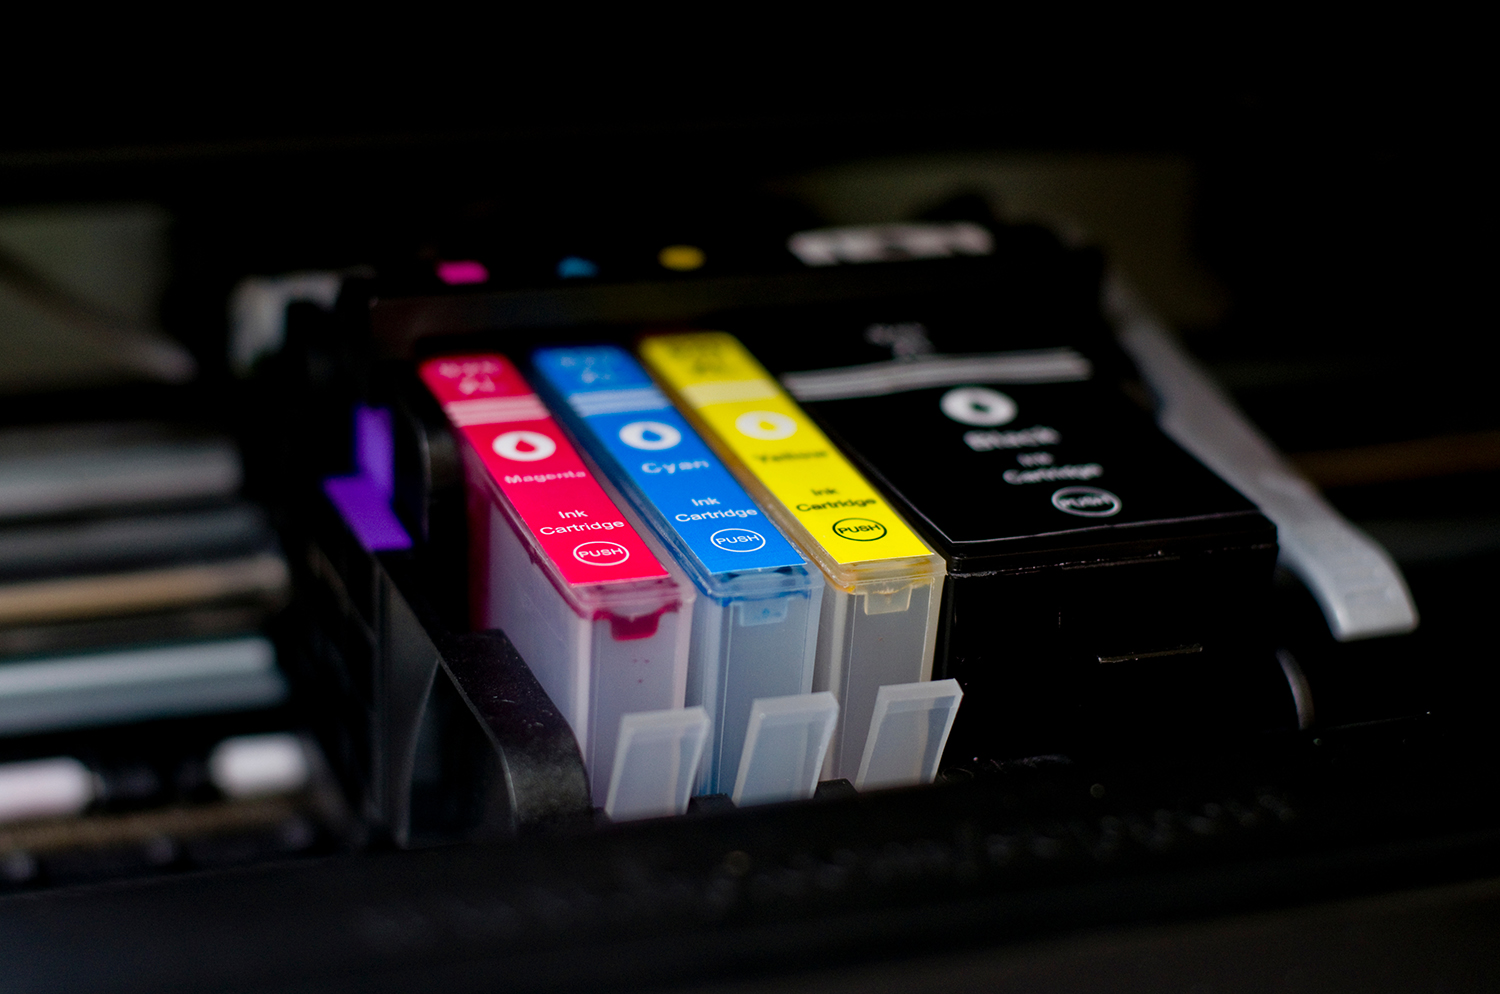
4. Remove the cartridge that you need to replace from the carrier and set it aside for recycling purpose.
5. Take the new cartridge package, and remove any pull tab coverings it may have. Make sure that you are not touching any of the copper contacts or ink nozzles.
6. Install the new cartridge in the correct slot.
7. Close the Ink cartridge door and printer exterior cover.
8. Finally an alignment page may appear depending on each brand or model. You should complete the alignment process for the best printing results.